Katsu Burger Ballard Mural
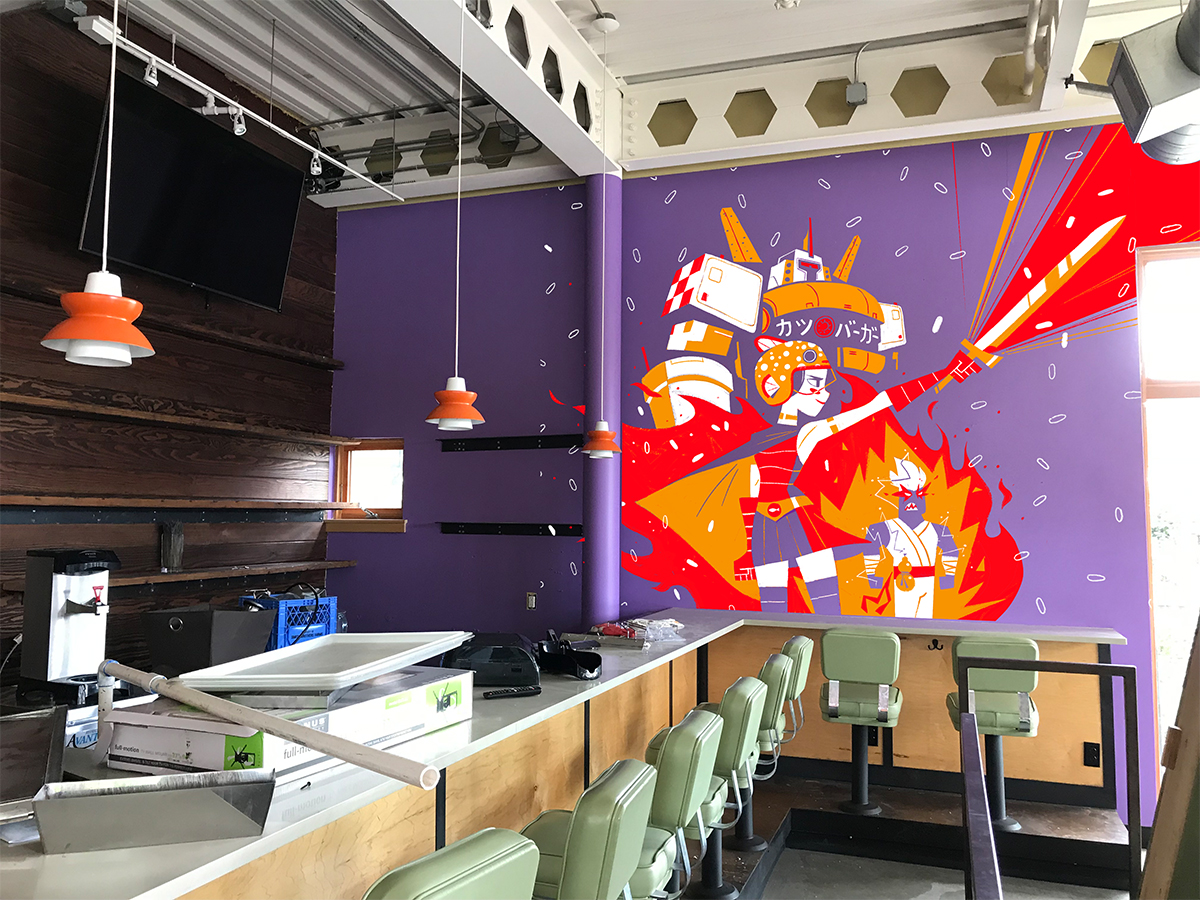
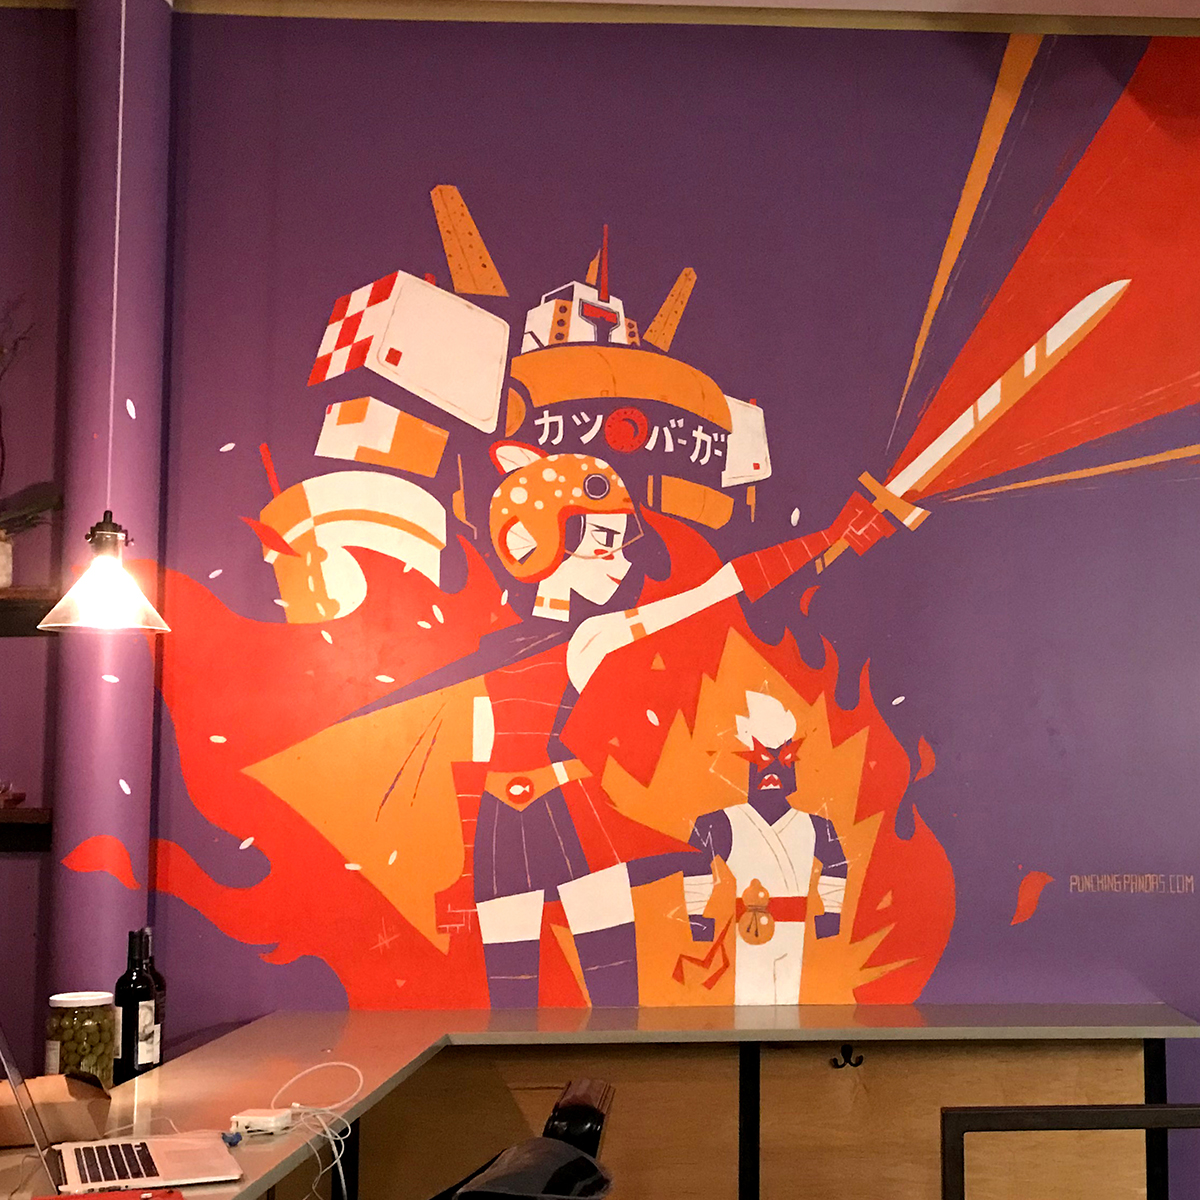
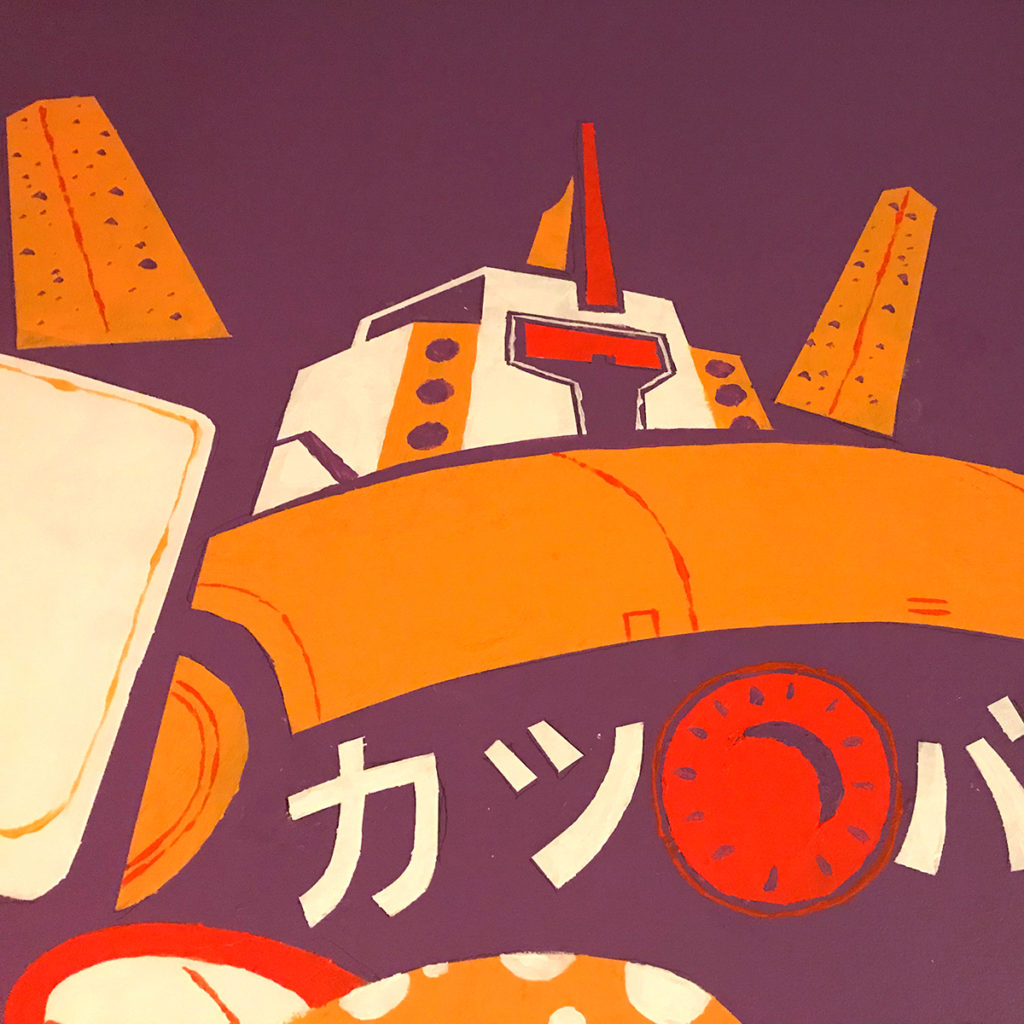
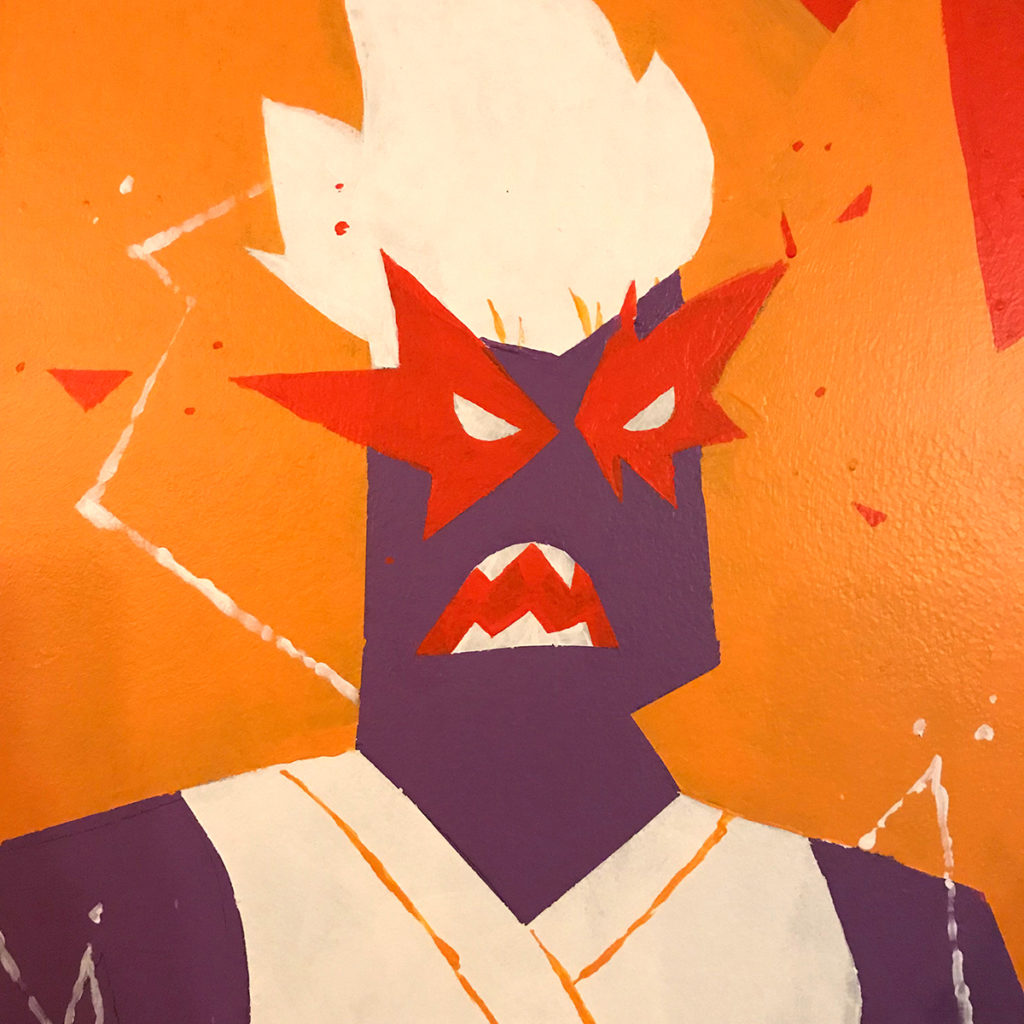
I recently completed my first mural for Katsu Burger, a local restaurant chain that specializes in Japanese-fusion burgers. The location is in Ballard and is the first Katsu Burger to feature sushi and bento boxes on their menu. Read on to learn about my process for creating my first mural and to watch a timelapse video of the whole process.
So how does on get started on their first mural? With help of course! I reached out to Justin Hillgrove who did a mural at Facebook. He in turn referred me to Mural Joe‘s videos which provided much needed help with how to get started.
The owners were very generous in allowing me the freedom to do whatever I wanted which can sometimes be difficult because there can be infinite possibilities. They expressed that they were open to having elements of Japanese pop culture like robots, Dragonball, ninjas, so I went with that line of thinking and began to brainstorm.
One of the ideas that I had was having a set of warriors battling a giant “hunger monster” in the form of Godzilla. As I continued to develop the idea, the canvas began to feel a bit cramped with all of the characters especially if the hunger monster was going to be a giant. So I eliminated the hunger monster and focused on the warriors. Since this Katsu Burger location was going to feature sushi, I came up with the idea of having a warrior represent a portion of the menu: a robot represent the burger, a samurai for sushi, and a powered-up ninja representing drinks (the flames representing the alcohol burn). I later changed the samurai to a female Gatchaman-style superhero since I didn’t want to have all of the warriors looking masculine. Below is the concept art that I submitted to the owners. I also included a Photoshop mockup to help them visualize how the final design would fit on the wall.
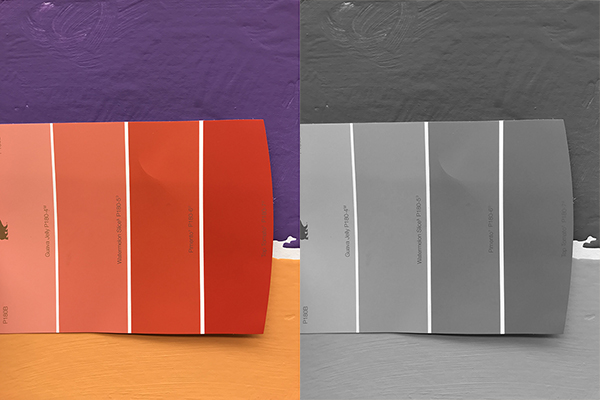
Part of the reason why I made the design in three colors was because I anticipated using the same wall paint used in all of the Katsu Burgers. The only exception was the red, which I needed to find on my own. The way that I selected the red was to make a print out of my concept art and find the matching swatch at Home Depot. One thing I noticed was that the existing wall paints were slightly less saturated than the colors used in my concept art (which I sampled from Katsu Burger’s logo); so I adjusted the red by picking the swatch that was one level desaturated from the matching color. I then took a photo of the swatches next to the existing wall paint and removed the saturation to see how the values compared to one another.
Another reason why I made this mural with three colors was because I wanted a flat graphic look. As part of my research, I also came across a mural done by Kevin Dart for the old location of Q Pop Shop in LA.
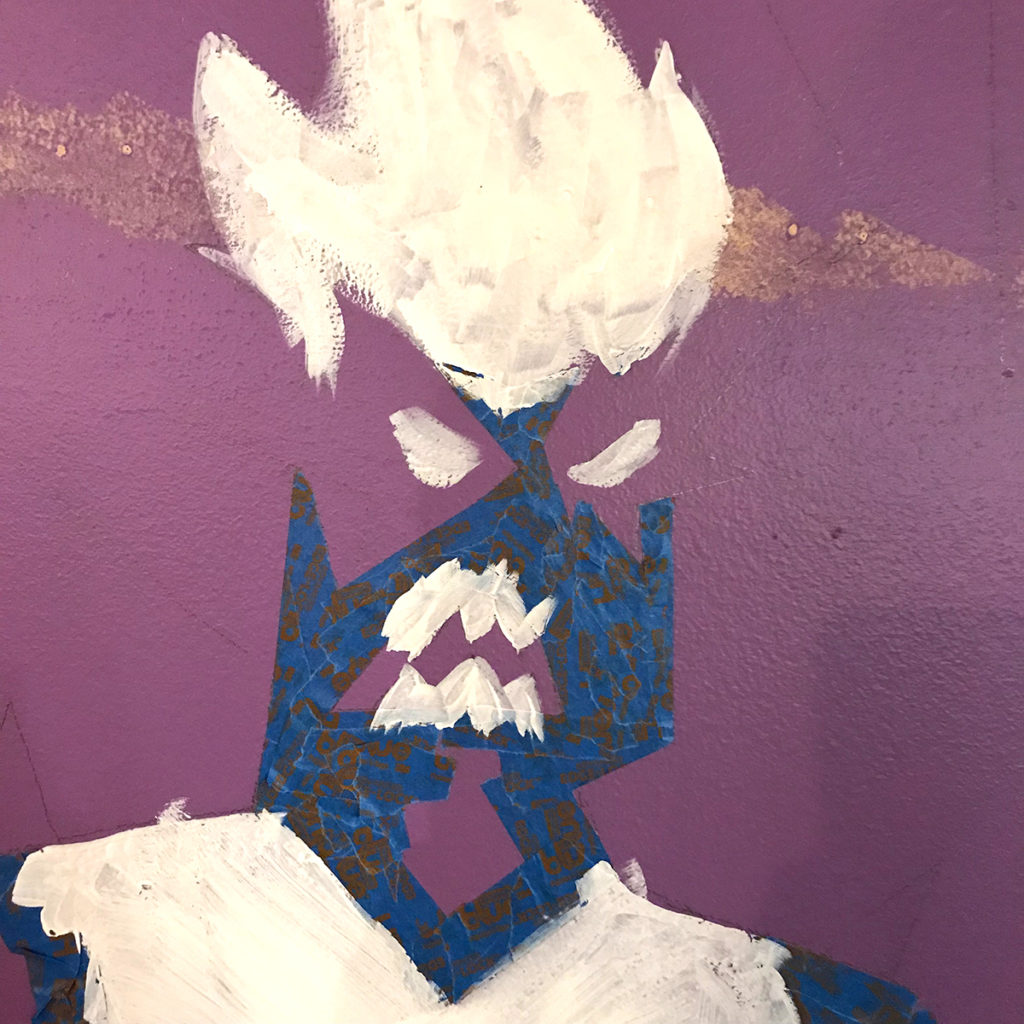
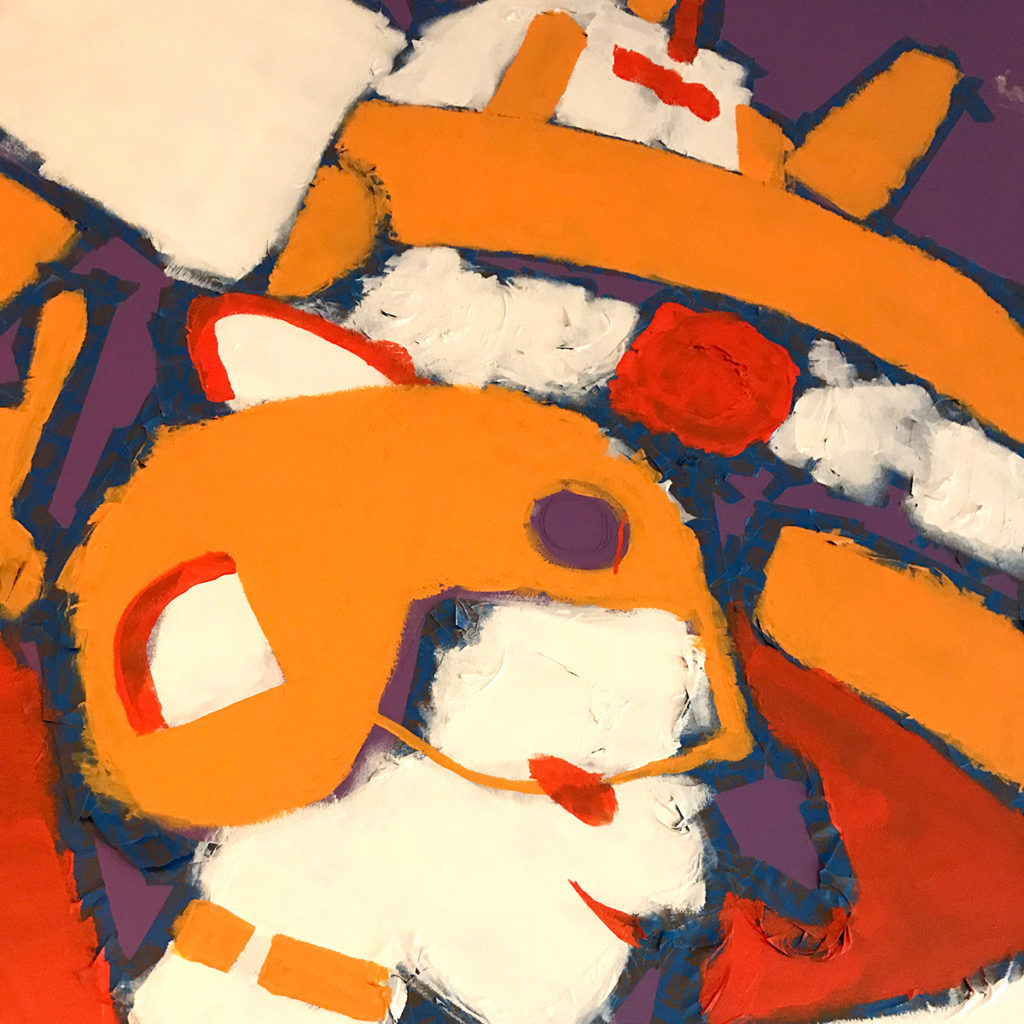
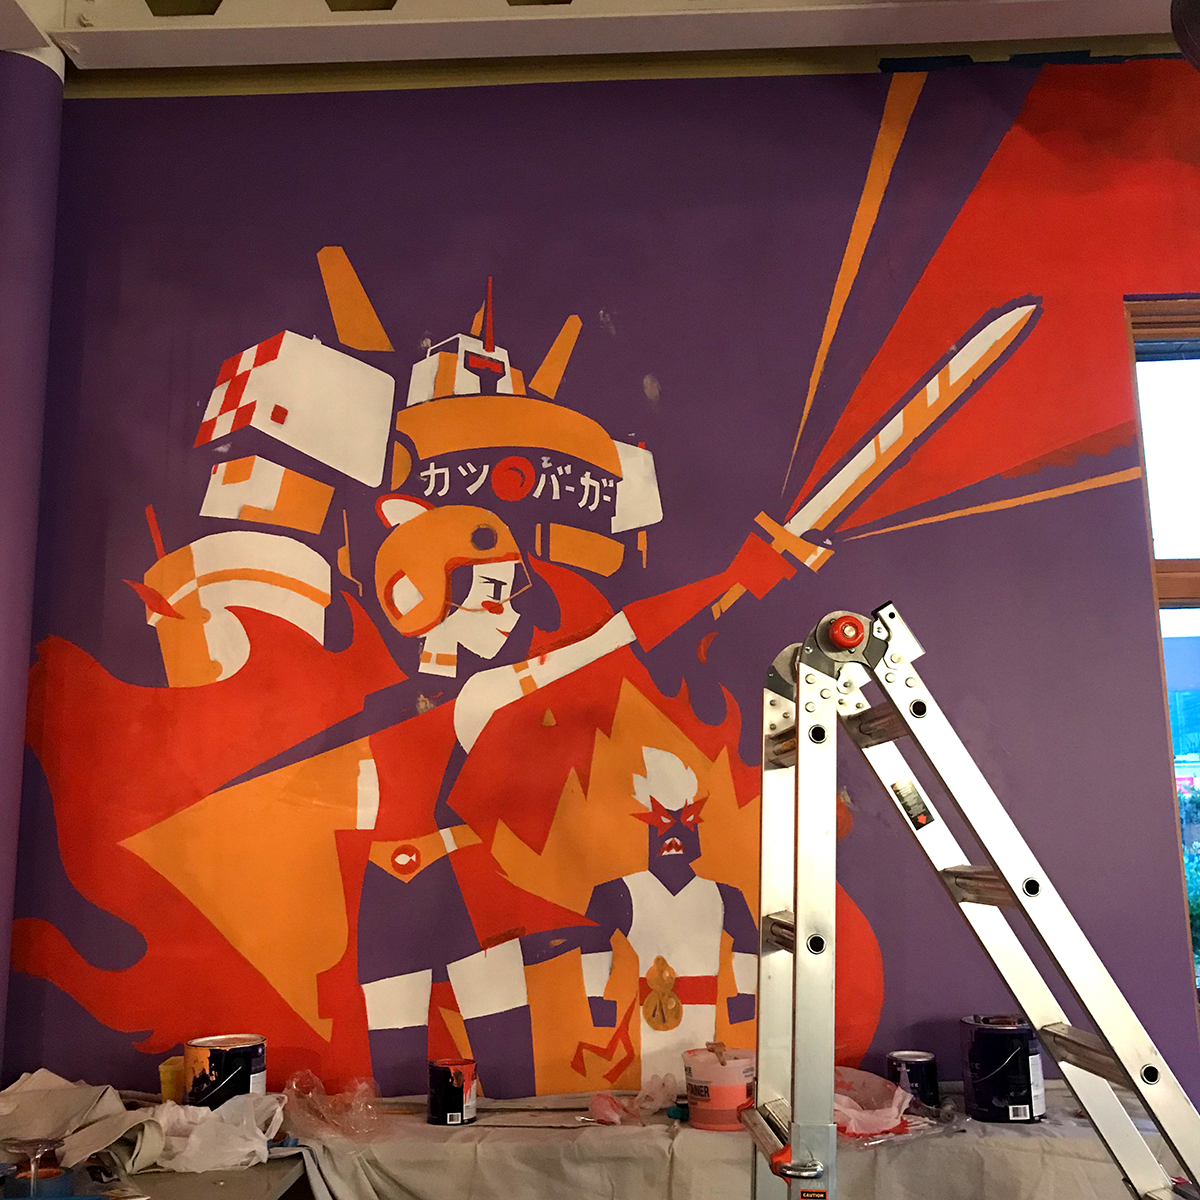
With the concept art completed, it was time to do the real painting. I borrowed a friend’s projector and directed it at the wall where I subsequently traced the major shapes in pencil. Afterwards, I blocked off the major shapes for the white with painter’s tape. I probably was a bit too meticulous with some of the details and could’ve done some of it by hand, but since this was my first mural, I wasn’t experienced enough to know any better.
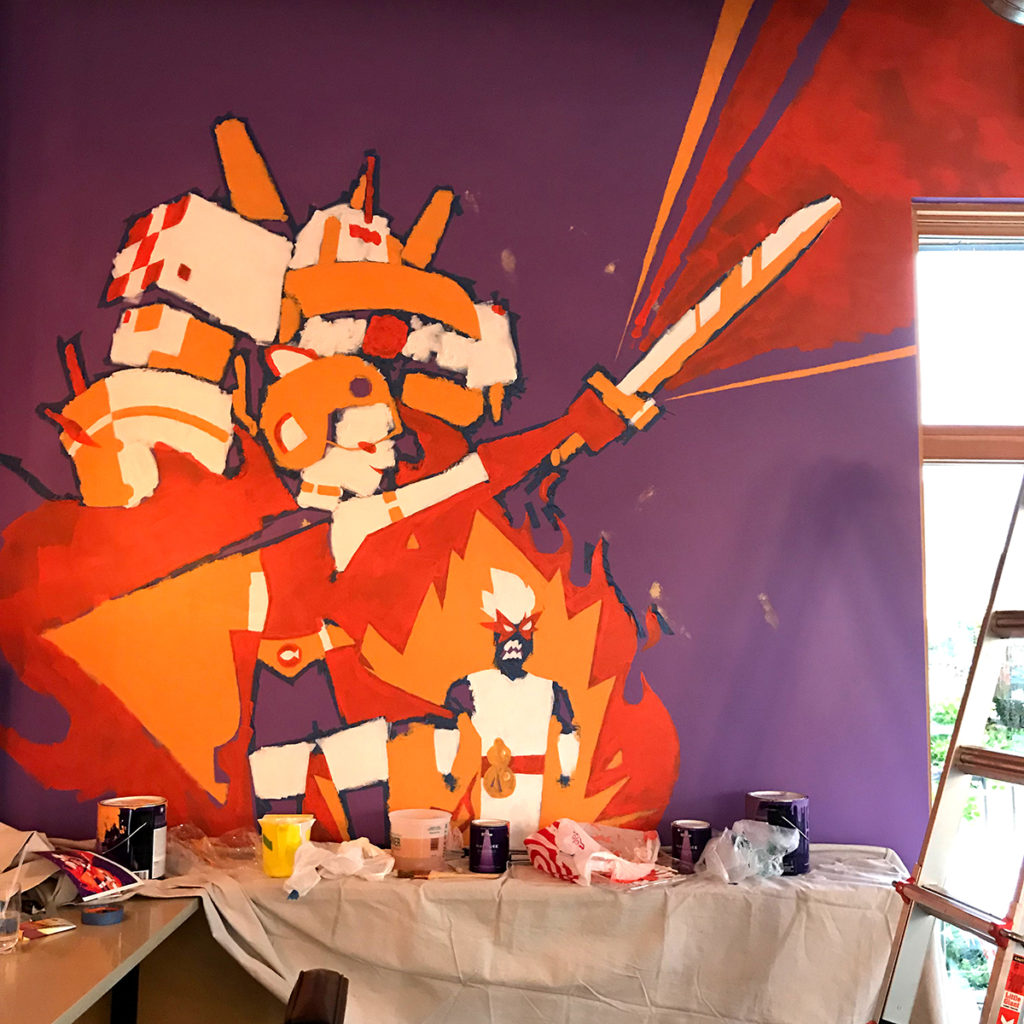
For the colors, I started from light to dark beginning with the white sections, then the yellow, and then the red. Because I had to leave on the tape, the wall looks a bit messy. There were many times that I had to resist the urge to remove the tape just to see what was underneath.
After all the paints have been added, it was time to remove the tape. Removing the tape was one of the most satisfying parts of this process. It’s equivalent to pouring a bunch of Elmer’s glue on your hand and peeling back the dried bits. Don’t judge me.
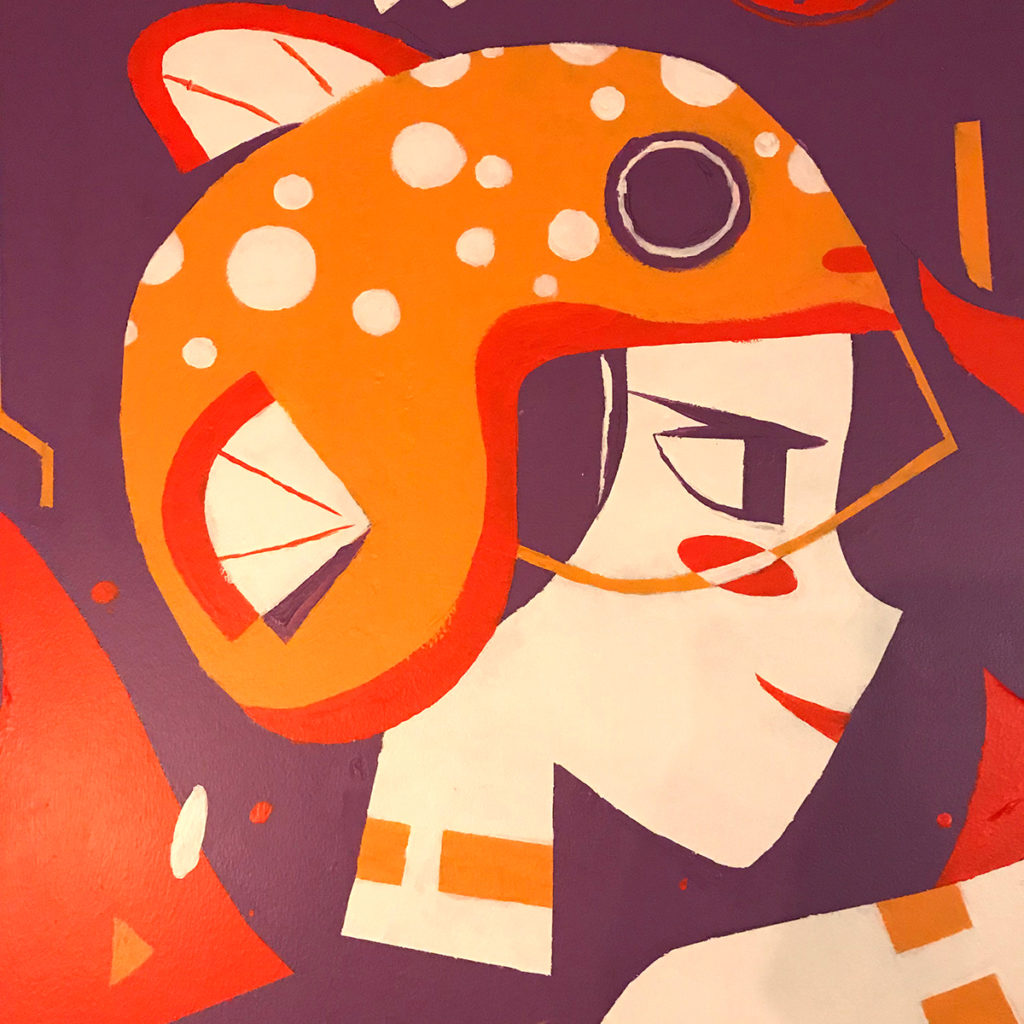
Finally, all that was left to do was clean up the edges and add the small details which sounds much easier than it actually is. Finishing this piece felt like giving someone a haircut by cutting one hair at a time. I didn’t add in as many grains of rice as in the concept because I felt like it would make the wall look too busy. I might go back and add a couple more details on my next visit if I feel there’s a need.
Finally, here is a timelapse video that I posted to YouTube of the whole process, go check it out.
Thanks to Tom, Stephanie, and Christopher for giving me the opportunity to work on this project and for feeding me for a week. Thanks also to Justin Hillgrove for his insights and introducing me to mural painting. And big thanks to Laura for providing the projector. Lastly, thanks to the panda family for having to adjust to my schedule because I couldn’t paint fast enough.
Cheers
N


